Introduction
If you've just bought an AirMax Pure and are dreaming of making your own spirits, the very first step is creating a simple sugar wash. A sugar wash is essentially a basic fermentation of sugar, water, and yeast — and it’s the easiest, most forgiving way to start your home distilling journey. Getting this part right lays the foundation for clean, high-quality alcohol that you can later refine, flavour, and enjoy. In this guide, we’ll walk you through everything you need to know to get started, avoid common mistakes, and prepare yourself for a smooth distillation process.
Table of Contents
- Introduction
- Why Start With a Sugar Wash?
- Ingredients You'll Need
- Equipment Checklist
- Step-by-Step: Making Your Sugar Wash
- How to Tell When Fermentation is Finished
- Next Steps: Preparing for Distillation
- Troubleshooting: Common Sugar Wash Problems
- Closing: Get Ready for the Fun Part
Why Start With a Sugar Wash?
Cheap, Easy, Forgiving
- Minimal Ingredients: You only need sugar, water, yeast, and nutrients.
- Low Cost: A batch typically costs just a few dollars.
- High Success Rate: Even if your technique isn’t perfect yet, sugar washes usually ferment cleanly.
- Quick Turnaround: Fermentation often finishes within 5–10 days, depending on temperature.
Perfect for First-Time Distillers
Many first-time distillers make the mistake of starting with fruit or grain-based washes. These are much more complex: they require careful enzyme conversion, fruit handling, or grain mashing skills. A sugar wash lets you learn the basic principles of fermentation and distillation without getting bogged down in advanced techniques.

Ingredients You'll Need
White Sugar
Regular table sugar (sucrose) is perfect. Avoid raw sugars, molasses, or brown sugars for your first batch — they can create strong flavours that mask mistakes.
Clean Water
Use filtered or boiled and cooled water if your tap water tastes heavily chlorinated or metallic. Yeast is sensitive to chemicals in water.
Distiller's Yeast
Specialised distiller’s yeast is designed to survive higher alcohol levels and ferment quickly. Some types even include built-in nutrients.
Yeast Nutrient (if not included)
Yeast needs food beyond just sugar: nitrogen, vitamins, minerals. Without nutrients, fermentation will stall or produce unwanted off-flavours.
Equipment Checklist
- 10L to 30L Fermenter with Airlock
- Sanitiser
- Thermometer
- Mixing Paddle or Spoon (Stainless steel or food-grade plastic)
- Hydrometer
- Siphon Tube or Tap
- Measuring Jug
- Optional: Heating Pad or Brew Belt, Clarifying Agent (e.g., Turbo Clear)
Step-by-Step: Making Your Sugar Wash
1. Sanitise All Equipment
Clean everything that will touch your wash — fermenter, spoons, thermometer, airlock. Use a no-rinse sanitiser or a bleach solution followed by a clean water rinse. Any contamination can ruin your batch.
2. Prepare the Sugar Solution
Heat about half the required water to around 30-35°C (86-95°F). Add the sugar gradually, stirring until fully dissolved. Avoid overheating the water: boiling water can caramelise sugar and create unwanted flavours.
Basic Recipe for a 25L Wash:
- 6-8kg of white sugar
- 21L of clean water (adjust if you're adding sugar directly into a fermenter)
3. Cool the Solution
Top up with cold water to the final volume (e.g., 25L). Ensure the temperature drops below 30°C (86°F) before pitching yeast.
4. Pitch the Yeast
Sprinkle the yeast directly onto the surface — no need to stir. Alternatively, hydrate yeast first in lukewarm water (follow packet instructions). If separate, add yeast nutrients now.
5. Fit the Airlock
Seal your fermenter. Fill the airlock with water or sanitiser. Place your fermenter somewhere warm (20-25°C / 68-77°F) and away from direct sunlight.
6. Monitor Fermentation
Within 12-24 hours, you should see vigorous bubbling. Smell should be sweet initially, becoming slightly yeasty or "beer-like" over time.
Fermentation Tips:
- If the temperature drops too low, fermentation may slow dramatically.
- If it overheats above 30°C (86°F), yeast stress can cause off-flavours (solvent, banana smells).

How to Tell When Fermentation is Finished
You need to be sure fermentation has truly finished before distilling, or you risk pressure build-up and contamination.
Signs Fermentation is Complete:
- No Bubbling: Airlock activity stops or slows dramatically.
- Specific Gravity Reading: Hydrometer shows a reading between 0.990 and 1.000.
- Consistent Readings: Take two readings 24 hours apart. If identical, fermentation is finished.
Next Steps: Preparing for Distillation
1. Let the Wash Settle
Allow the wash to sit quietly for 24-48 hours after fermentation ends. Yeast and other solids will naturally sink to the bottom.
2. Optional: Use a Clarifying Agent
Products like "Turbo Clear" speed up clearing. This step reduces impurities that might carry over into your spirit.
3. Rack Off Carefully
Siphon or tap the clear liquid off the sediment into a clean container. Avoid disturbing the yeast bed at the bottom.
4. You're Ready!
Your sugar wash is now prepared for loading into your AirMax Pure and beginning the distillation process.
Important: Never overfill your AirMax Pure. Always leave headspace (air gap) to prevent foaming into the condenser.

Troubleshooting: Common Sugar Wash Problems
| Problem | Cause | Solution |
|---|---|---|
| No fermentation starting | Yeast killed by hot water or poor quality yeast | Re-pitch with fresh yeast at correct temperature |
| Rotten egg smell (sulphur) | Stressed yeast, lack of nutrients | Improve nutrient levels next time |
| Fermentation very slow | Cold temperatures | Warm up with a heat belt or mat |
| Sweet taste after 10+ days | Stuck fermentation | Add yeast nutrient and gently stir |
Closing: Get Ready for the Fun Part
Now that your sugar wash is bubbling (or perhaps already finished), you're one major step closer to crafting your own spirits at home. With clean preparation, good sanitation, and careful monitoring, you’ve set the foundation for a successful distillation.
In the next article, we’ll walk you through exactly how to run your first distillation — safely, efficiently, and with maximum yield using your AirMax Pure. Stay tuned, because this is where the real magic happens!
Coming Up Next:
"Turning Your Wash into Alcohol: A Beginner’s First Distillation" — Learn how to safely use your AirMax Pure and collect your first batch of homemade spirit!
Ready to Distil Your First Batch?
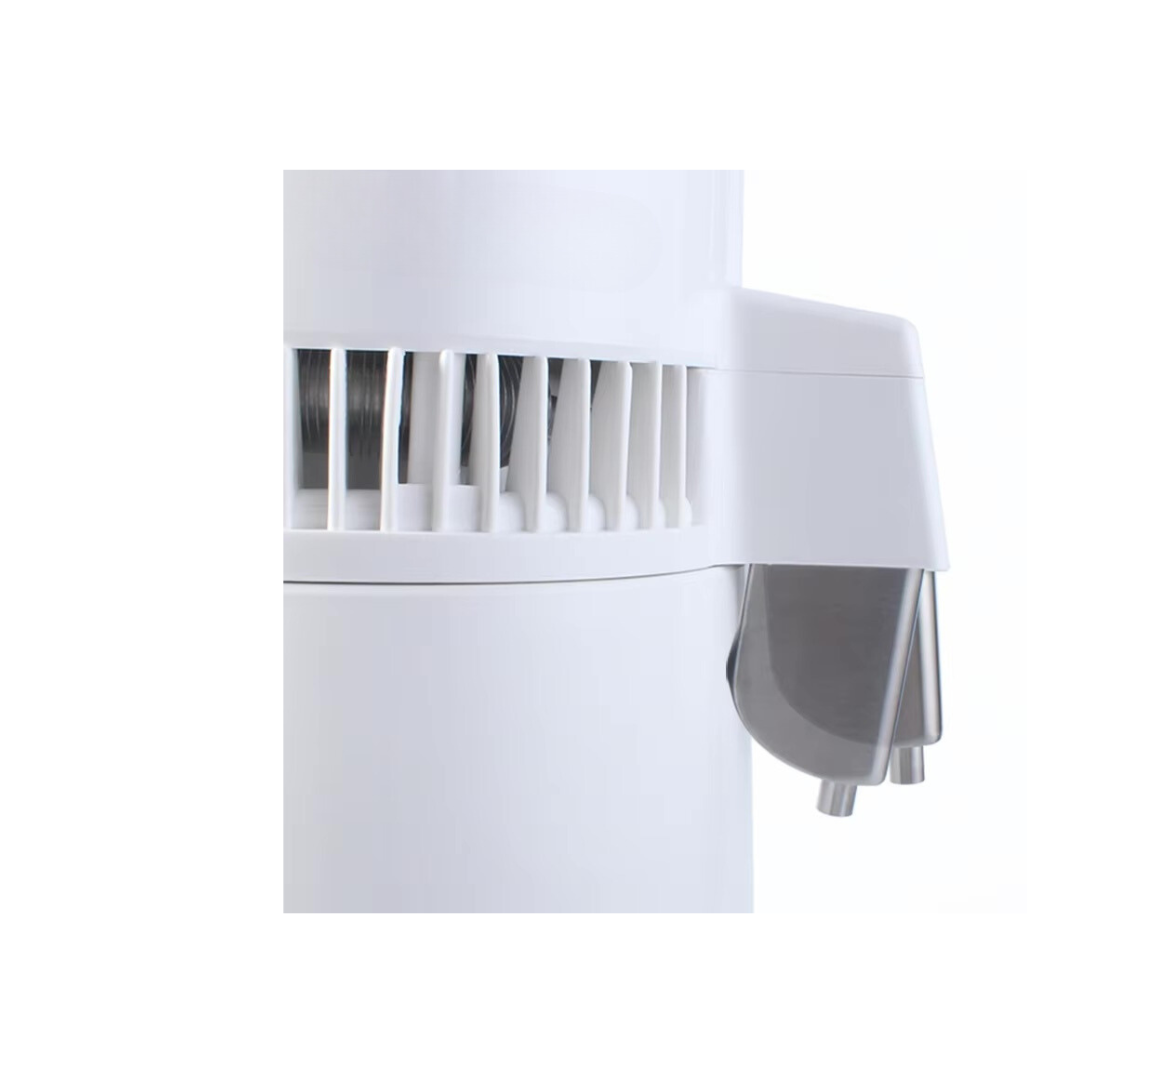
Check out the full AirMax Pure Fan Cooled Distillation System and start your home distilling journey with confidence.